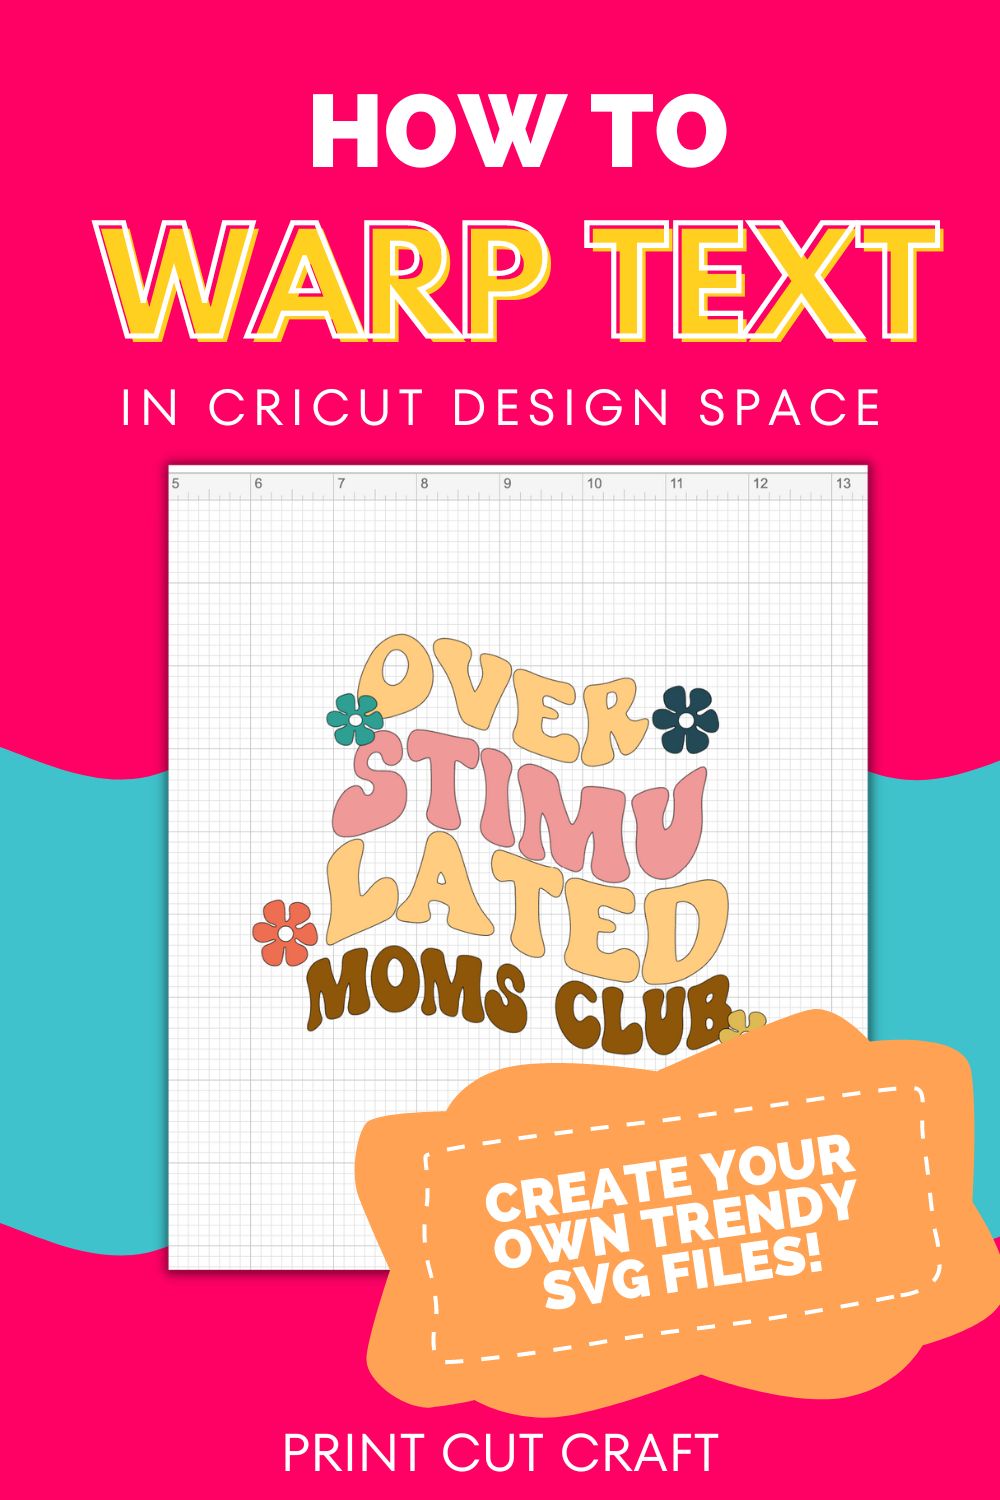
Learn how to use Cricut’s newest feature to warp text inside of Design Space to add trendy elements to your craft projects!

The Cricut community has been asking Cricut to make a tool that allows us users to edit our text. The curve feature does allow for some editing but you couldn’t actually warp the text.
Guess what, they finally did it! The warp tool is only available in Beta mode for now, which means they are still making some adjustments, but you can get a jump start on using it now!
***Update 4/12/23 – It’s possible you no longer have to switch to beta mode, as this feature is now being rolled out without having to do that. If you already have the warp feature when you open Design Space, you can skip the steps of switching to beta mode.
How to Change to Beta Mode
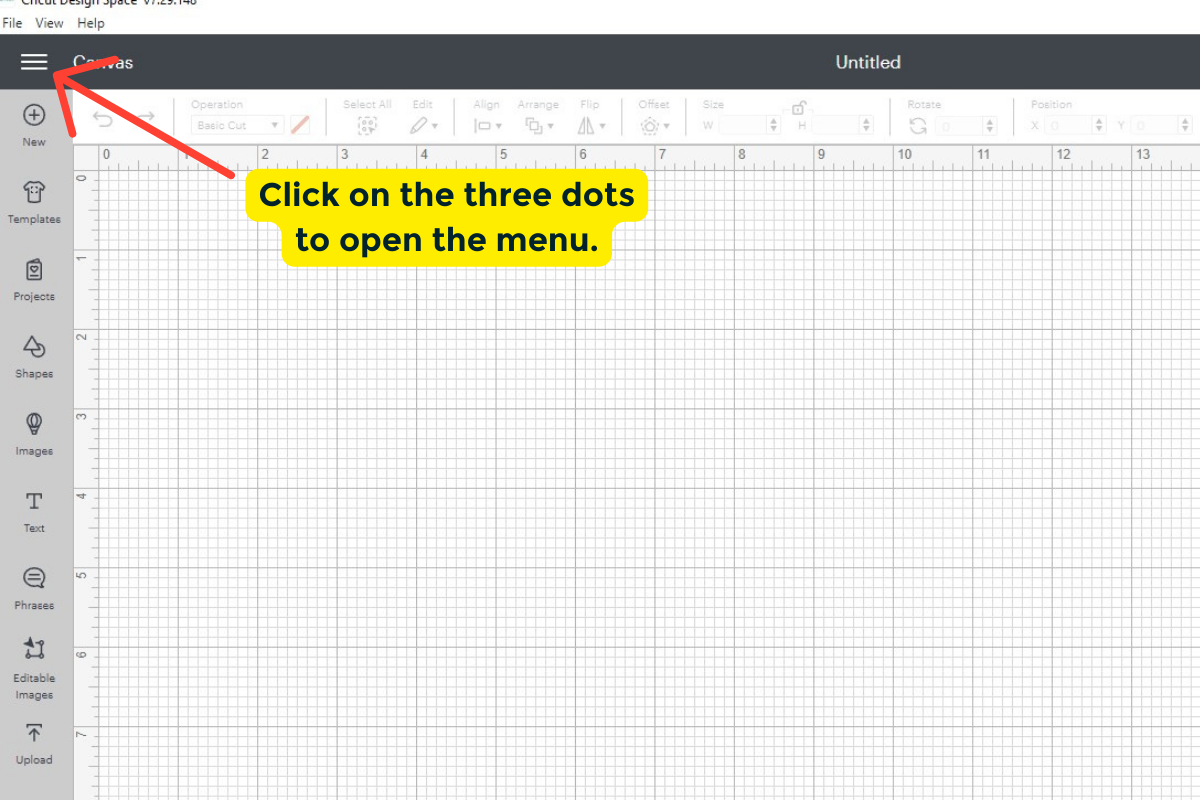
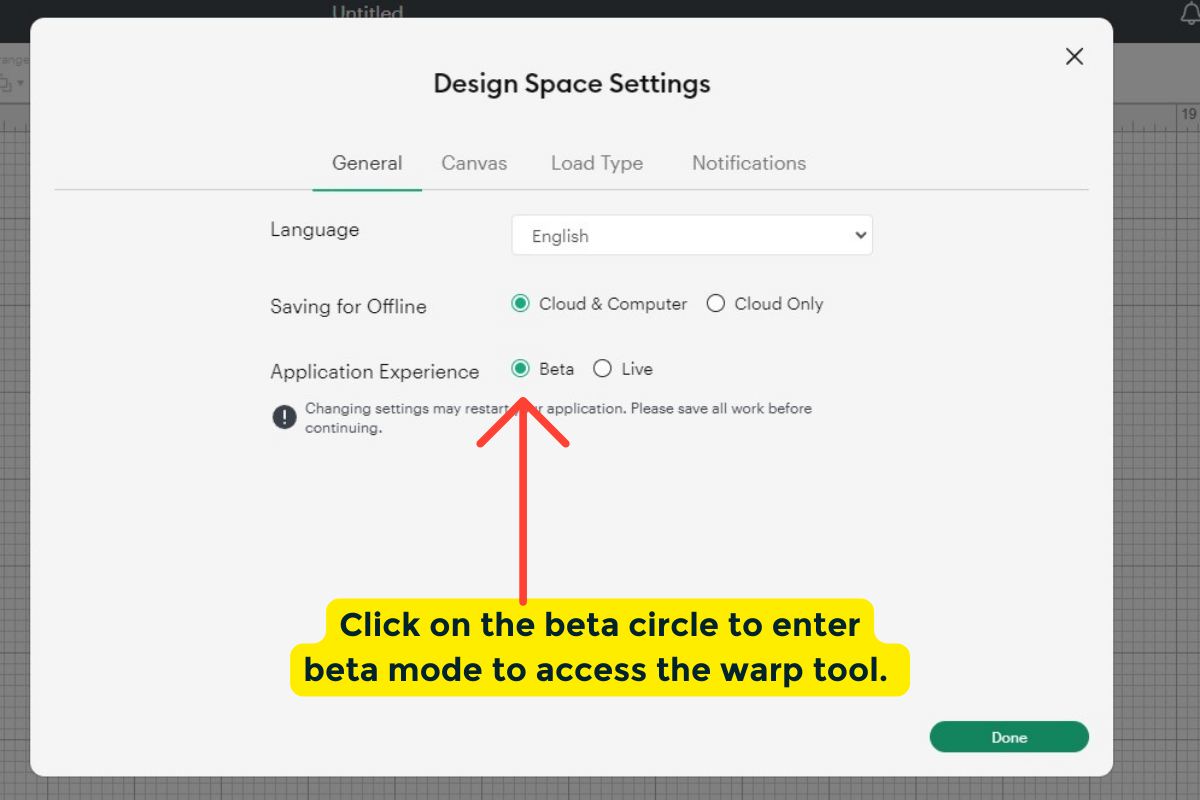
After you have opened Cricut design space and started a new project, go over to the top left and click on the three lines to open the menu bar. Once the menu opens, click on settings option. This will open a box that give you an option to be in Beta or Live mode, click Beta mode. You can switch back and forth between the two options.
Update Needed for *First Time Users
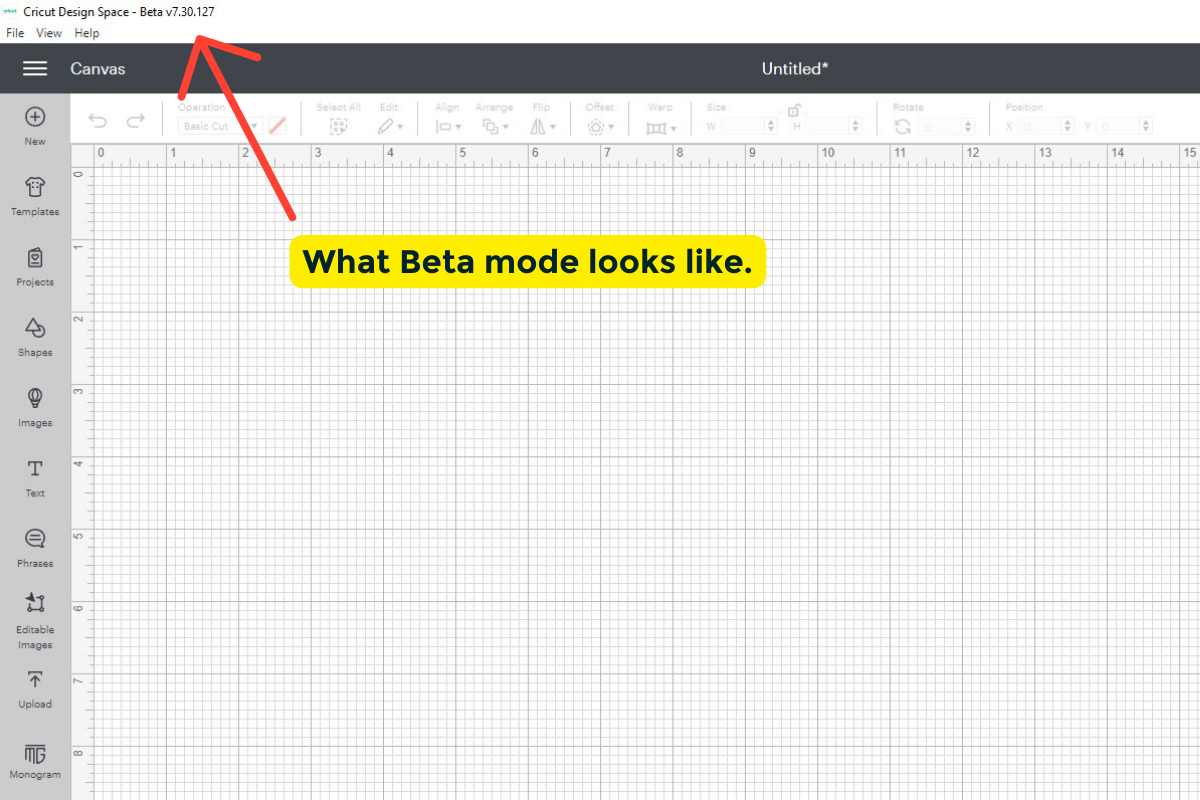
If this is your first time using beta mode an update needs to take place. You may be prompted for the update, it may just start automatically. After it updates, be sure that it says at the top of your Cricut screen it says Beta 7.29 or greater. Now we are ready to get started playing with the warp feature!
Using the Warp Tool
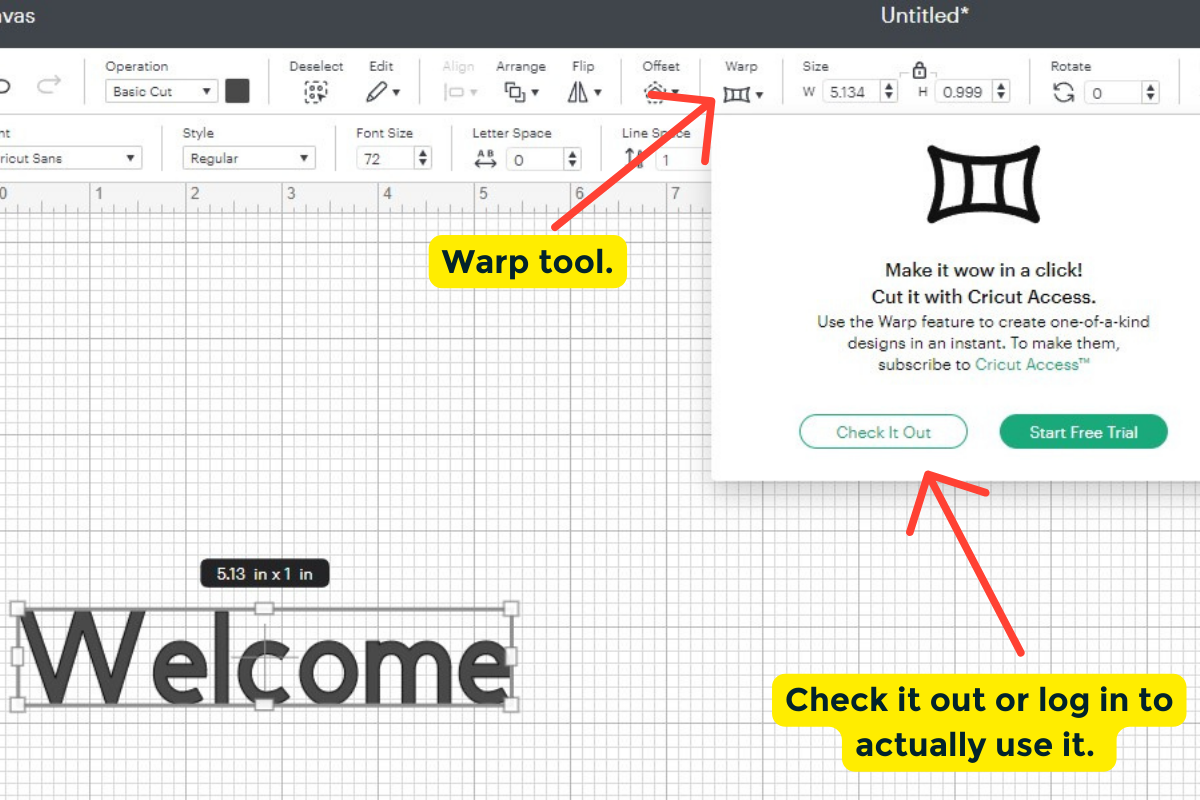
First, you will need to to add some text. With the text selected, you will notice the new feature warp in the top tool box area in between Offset and Size becomes available. After you click on Warp you may see this box shown below appear. If you do not have Cricut Access you cannot cut out your warped images and you will be prompted to click check it out or start a free trail. You can still play with and explore the warp options without subscribing but you will not be able to cut.
Warp Options
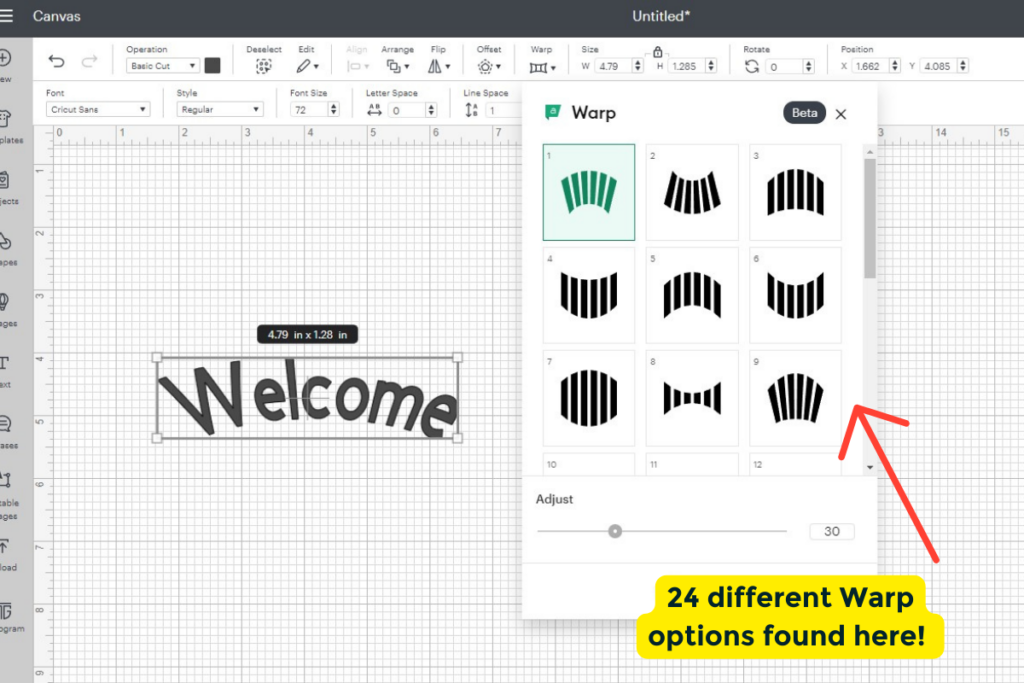
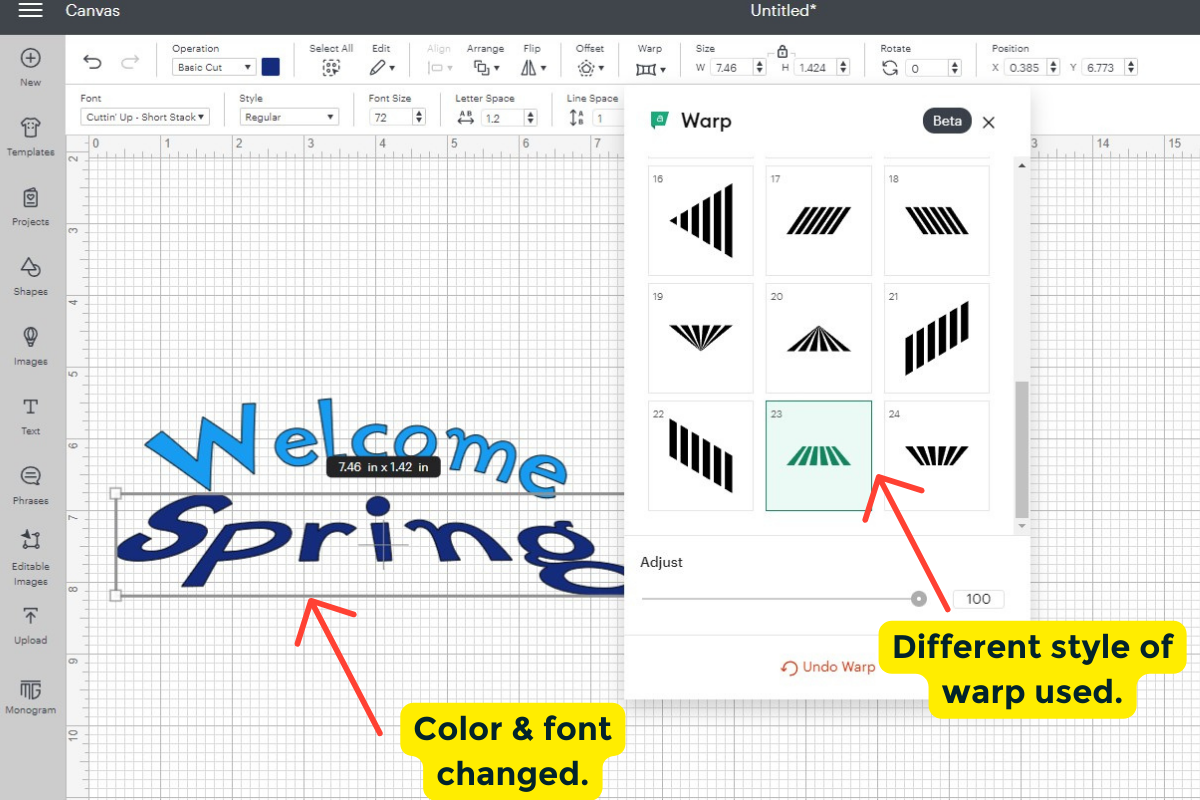
After you click on check it out or start free trial, you notice that there are 24 different warp styles! Yes you read that right, 24!!! You can adjust the amount of warping by using the adjust slide bar below the Warp options.
Changing Text and Color
You can change out the word by clicking on it and typing a new word and the warp you selected will stay the same, you can select different types of fonts that work for your project. You can also change the colors of the words.
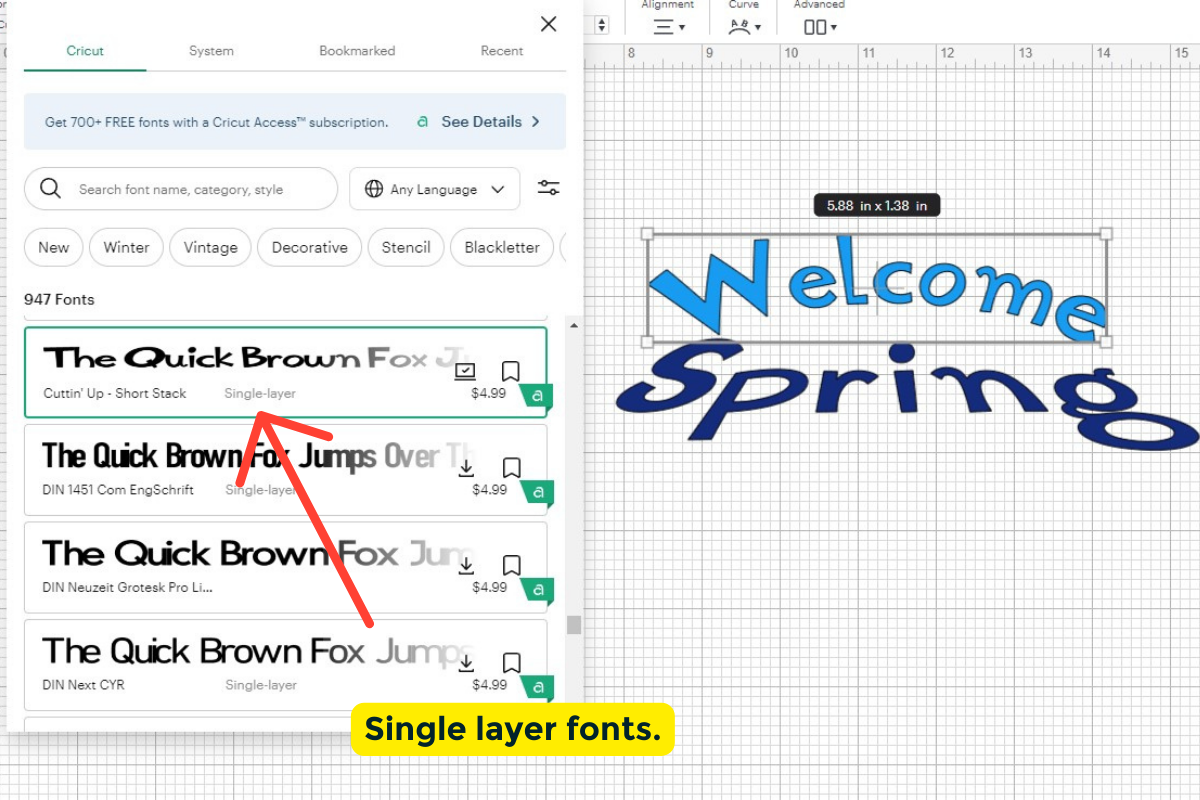
Single Layer Fonts & Unlocking
You can only use single layer text when using the Warp feature. The image below shows you where you look to make sure that you are using a single layer font.
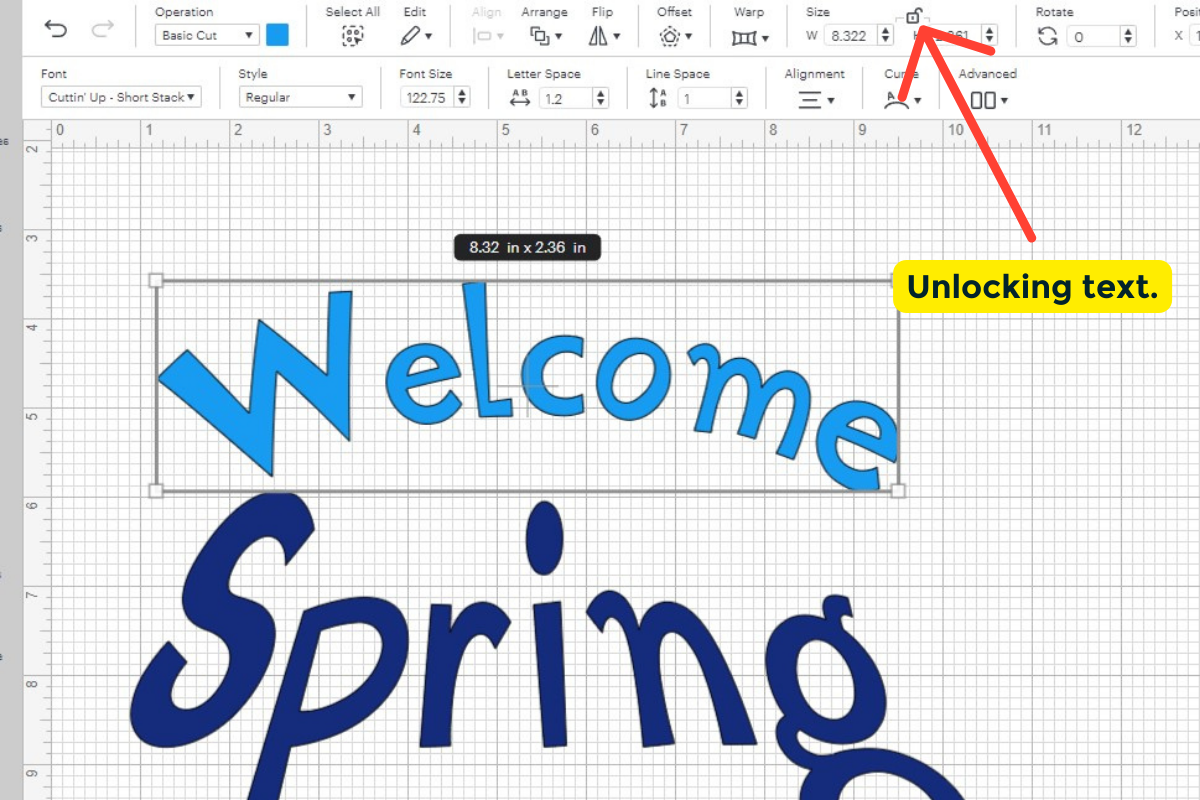
With the text selected you can click on the unlock button near the font size on the tool bar to change the size of the warped text. The text remains warped but you are
Other Features of the Warp Tool
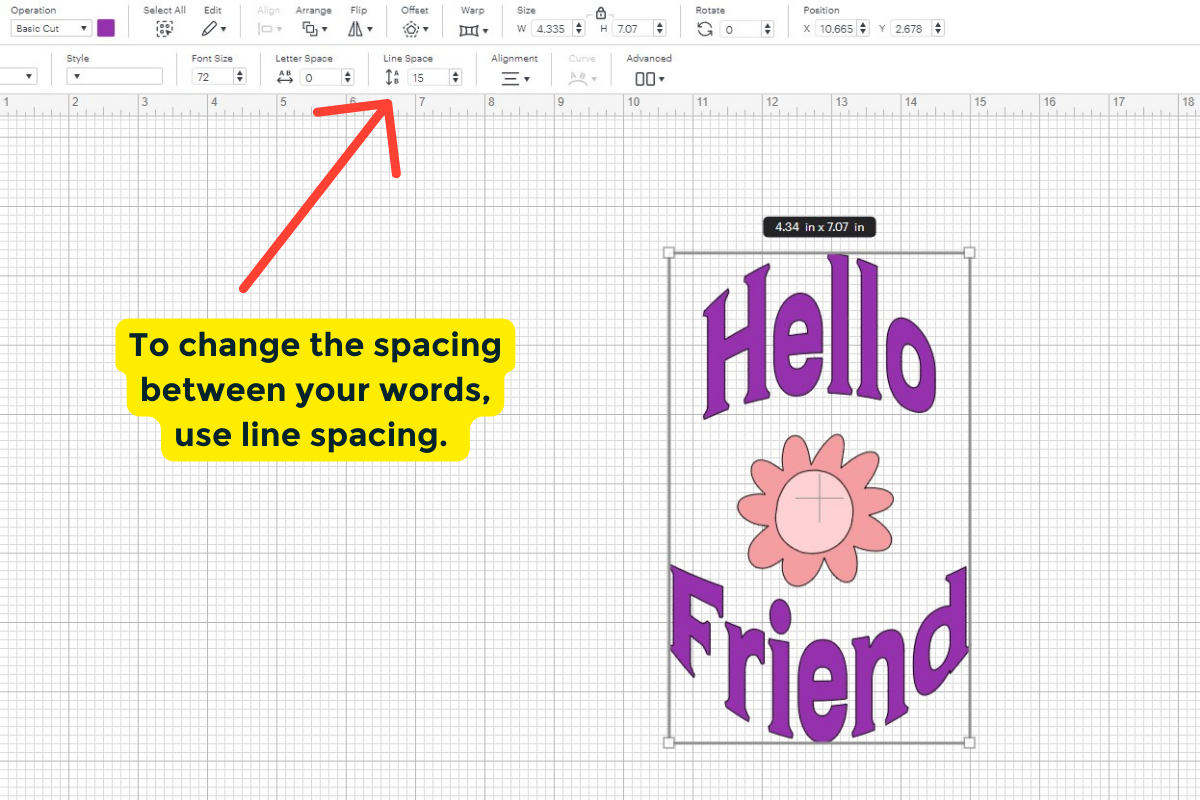
The image below was made using the same warp, number 7. I adjusted the line space to 15 to allow for room between my words then I simply added an image of a flower in between the text.
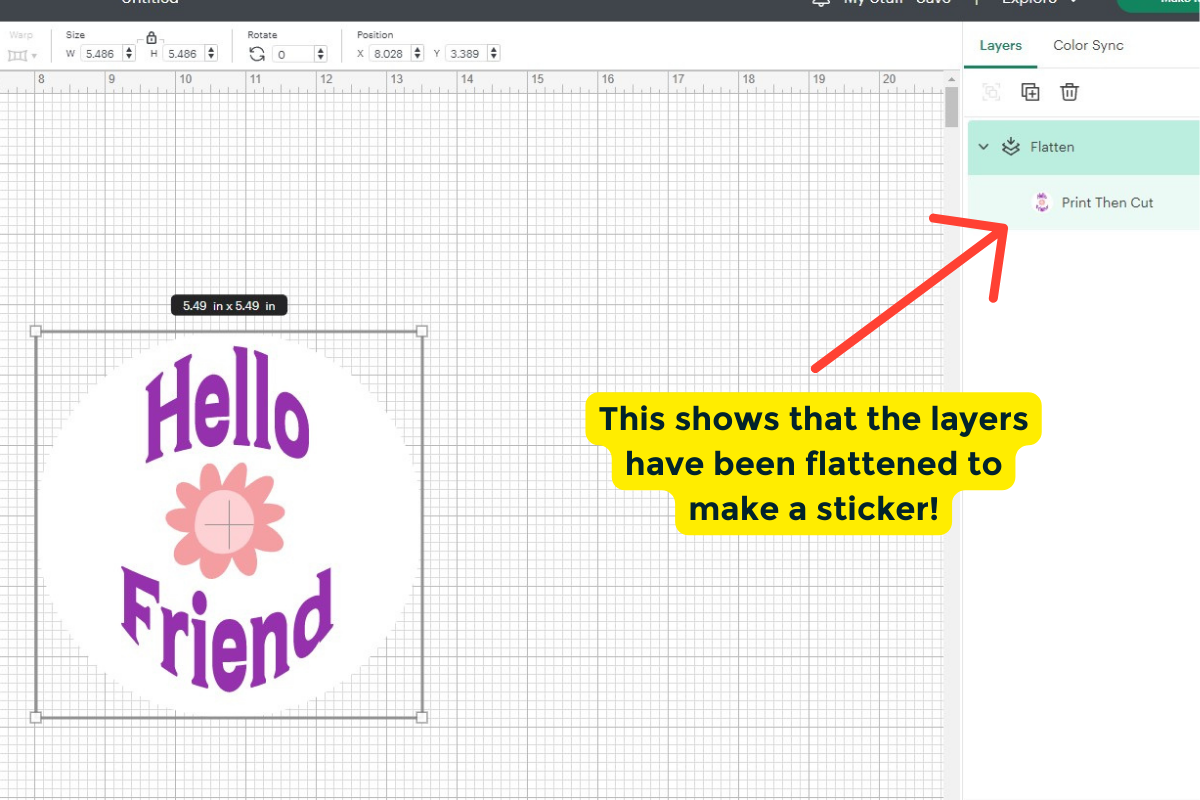
The second image below has a circle added to it. When you highlight and select flatten, you have made yourself an adorable printable sticker!
Use the warp feature to help you create some interesting shapes and designs. There are a lot of cool things you can do with Warp mode.
How to Make a Retro Design
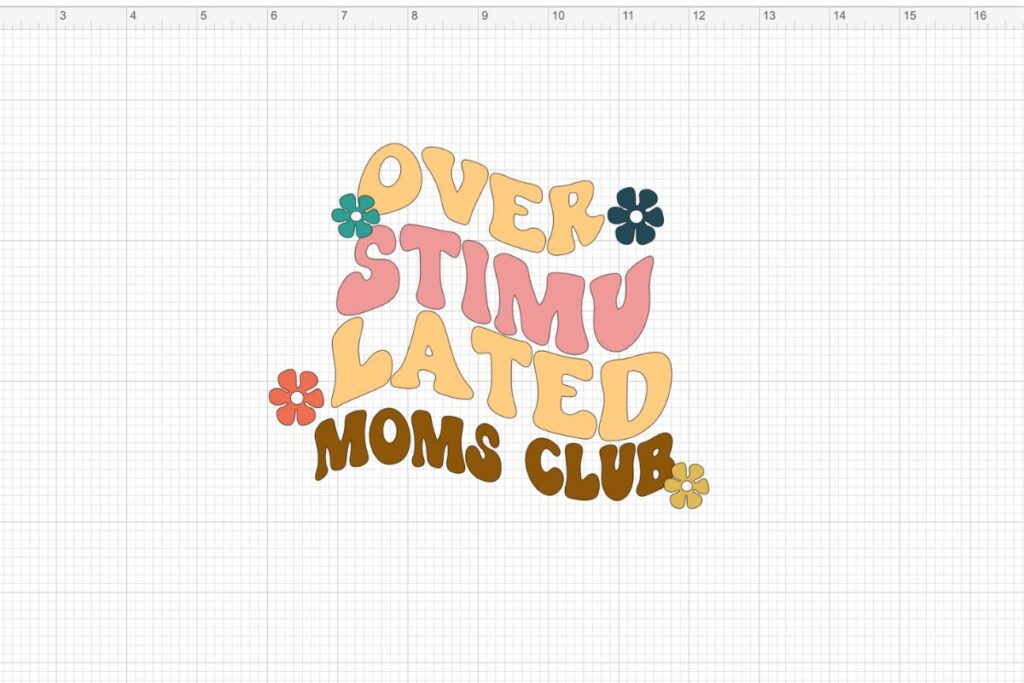
The font we chose for this design is called BFC Wild Thing. You can also use the font menu and search “retro” to see move groovy font types.
Type out each line of text separately. Recolor as you would like.
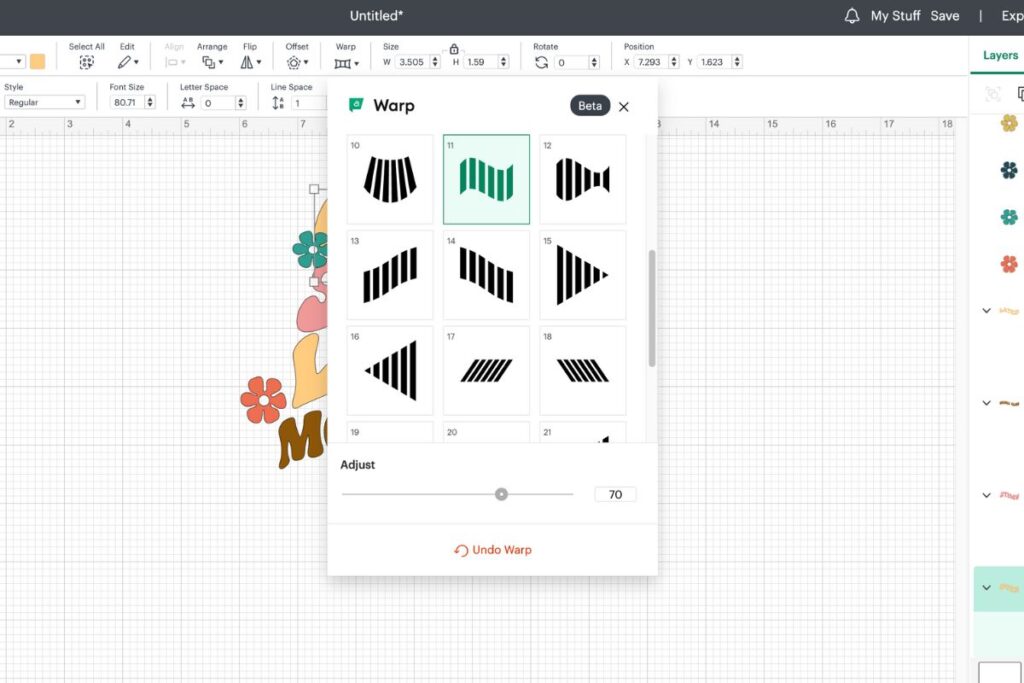
Choose #11 for the wrap option with the text selected.
We had to unlock some of the text and stretch it to make the design flow more naturally.
Then we found some retro flowers by searching the image library.
If you are making a design that is the same word repeated three or four times, you can type those in the same text box and it will turn out fine when you click the warp function.
Congratulations!! You have just learned how to use the Warp tool! Pretty fun wasn’t it! And what great options it gives you to be creative with your text!
**Pin the Cricut Tutorial for Later**