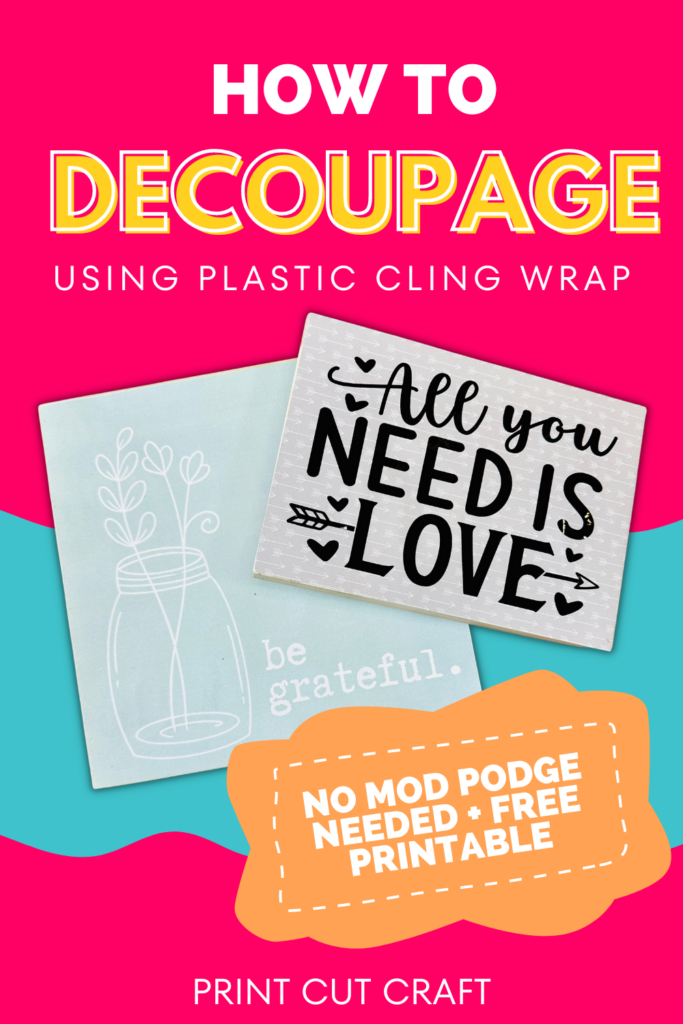
Learn how to make this cute and easy decoupage craft using saran wrap and without having to use Mod Podge! Don’t forget to download your free printable!
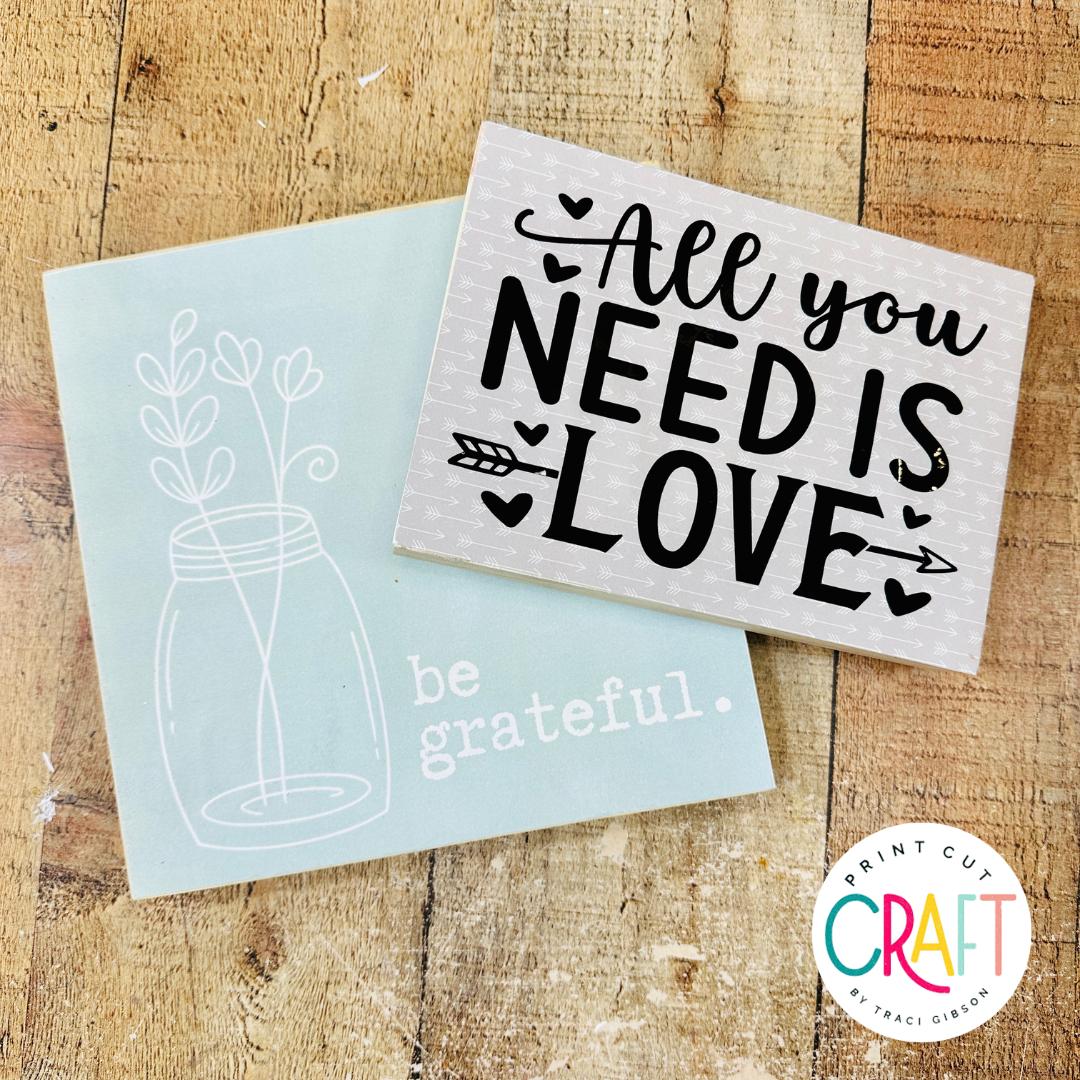
Most of the time when we hear the word decoupage, Mod Podge automatically comes to mind. But what happens when you want to get crafty and you are out of sealant? Let’s use saran wrap instead!
In all honesty, this is the main method we use in the printable club, but I wanted to try something different! The free print that is available to download is from our February collection.
This post contains affiliate links. For more information, see my disclosures.
Supplies You’ll Need
- Wood cutouts – this is what we are using, you can use any blank material you would like.
- Saran wrap – just the regular plastic wrap that you find at the grocery store.
- Iron – our heat source that helps the printable adhere to the plastic and the wood.
- Printables – grab your free printable below! You can also use scrapbook paper, napkins, etc. The design that has “All you need is love” was actually a scrap piece of paper I found in my craft room.
- Parchment paper – this protects the design while ironing.
Free Decoupage Printable
Here is the exact print we used to make these super cute crafts! Just complete the form below and it will be delivered straight to your inbox.

Watch the Video
How to Decoupage Using Saran Wrap
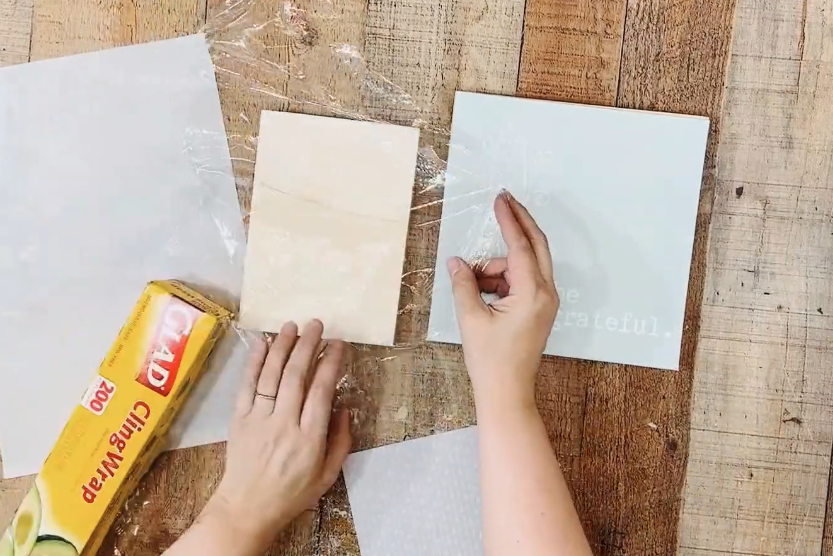
1. Tear off a piece of plastic wrap.
Cover your wood cutout or blank with a piece of saran wrap so it overhangs over the edges.
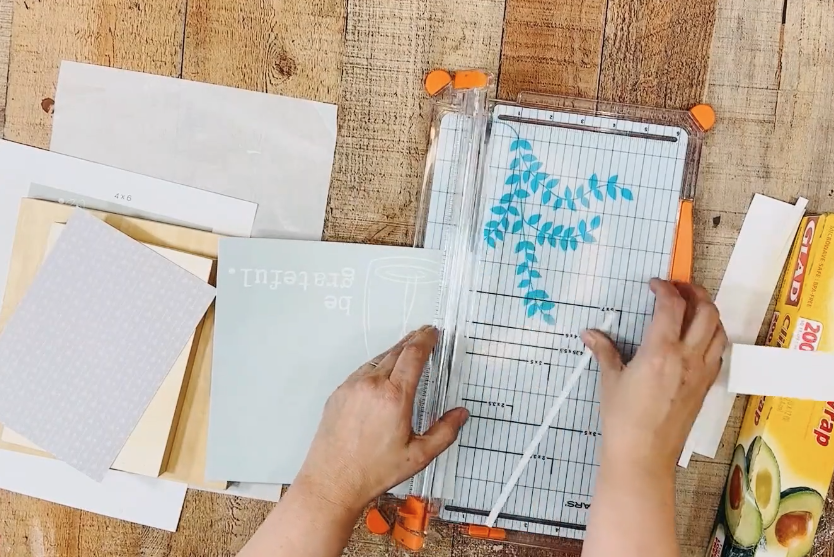
2. Trim the printable.
Cut the printable, paper, napkin, fabric, or whatever material you are using so it covers the blank. Place it on top of the plastic wrap.
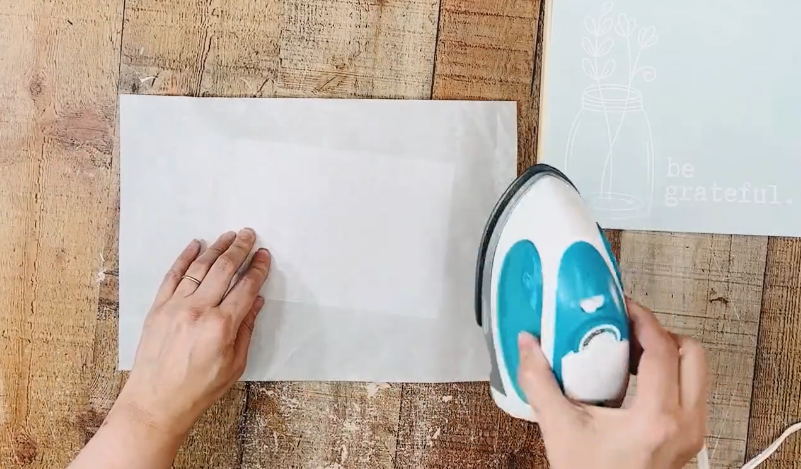
3. Cover with parchment paper and iron.
Place a piece of parchment paper over top of the printable. Use an iron and apply heat for 20 seconds across the entire design. Check to see if the plastic wrap is stuck to the cutout. If not, continue ironing for a little longer.
Tips
- If you can peel the plastic wrap off while it’s still hot it’s really easy. If not just use a sanding block to remove the rest.
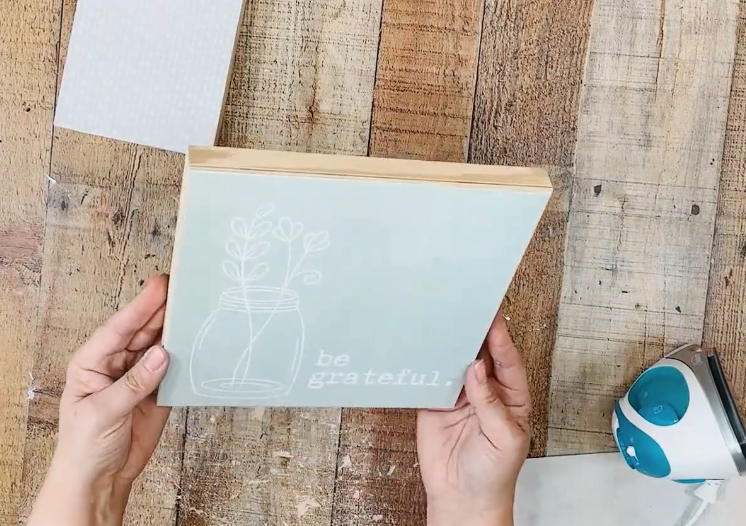
4. Sand the edges.
Use a small sanding block or small piece of sandpaper to go around the edges to remove the excess saran wrap and paper.
Tips for Making
- You want the plastic wrap to literally melt onto the wood. If it’s not melted, keep pressing.
- Any iron will work for this project, just DO NOT USE STEAM.
- I used Glad brand plastic wrap and it worked really well. I cannot speak for other store brands.
- If you are using a piece of wood where the printable does not cover the entire surface, be sure to paint that first. Allow it dry completely before decoupaging.
Can I do decoupage with wrapping paper?
Absolutely! You can use wrapping paper with this saran wrap technique or with Mod Podge. Using wrapping paper is also a great way to use up your holiday supply.
Do you have to seal decoupage?
When decoupaging using Mod Podge, yes you will want to add a coat over top of the design to protect it and keep it in place.
Using the saran wrap method, we did not seal the craft because we like to use this as an alternative to Mod Podge. If you wanted to seal it you could.
**Pin the No Mod Podge Decoupage Hack for Later**
We hope you love this new decoupage craft! Let us know what you think and other projects you want to see in the future!